
How to Prepare and Send a Document for E-Signature in Talking Tree
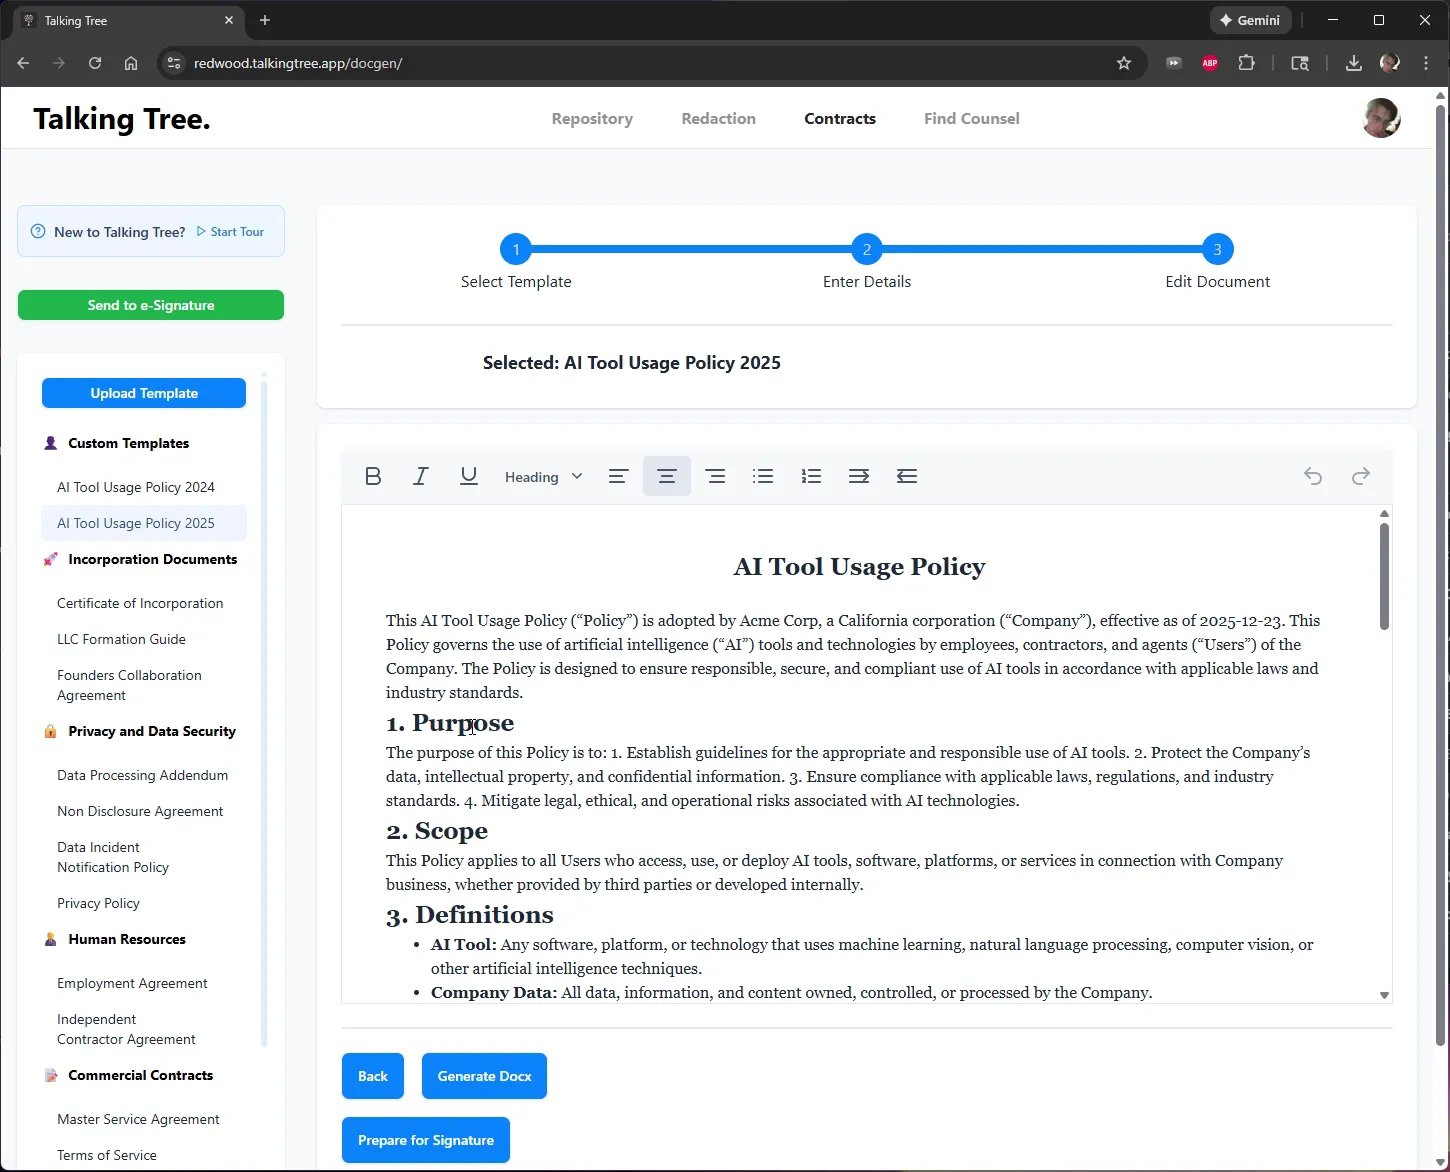
1. Review the Generated Document
After generating a document from a template, review its contents in the built-in editor. Confirm the merged fields (company name, state, effective date, etc.) rendered correctly before moving forward.
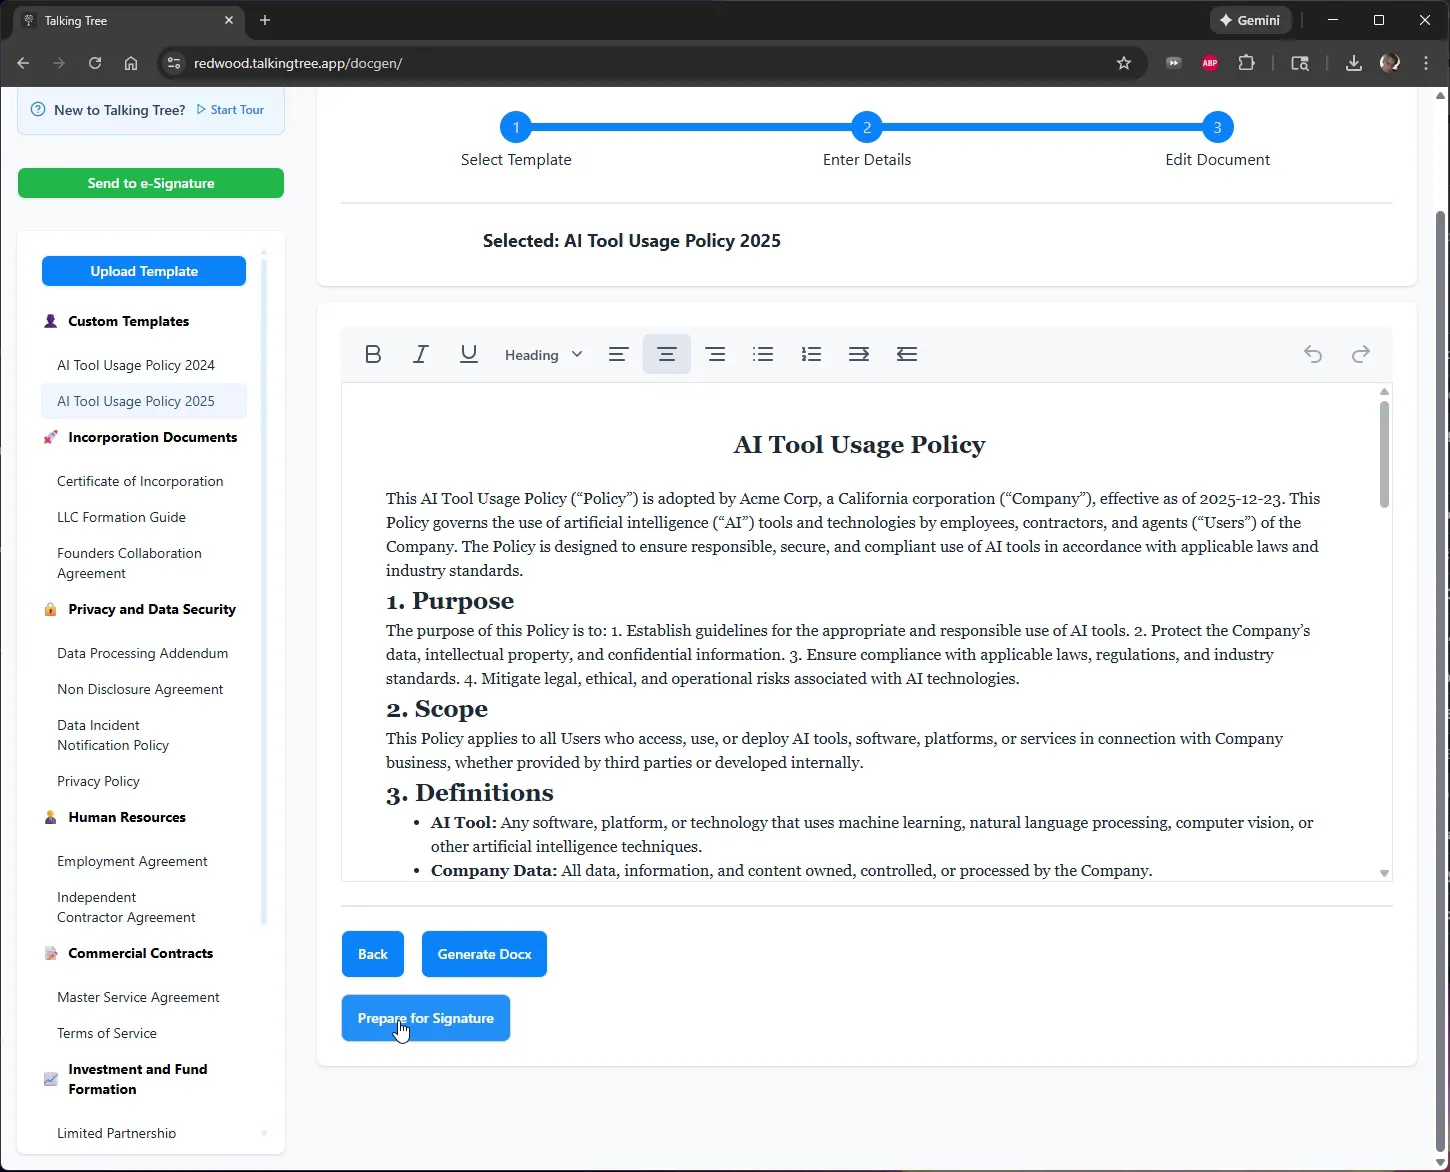
2. Start the Signature Preparation
Click Prepare for Signature to send the generated document into the e-signature workflow. The button shows a Preparing... state while the document is processed.
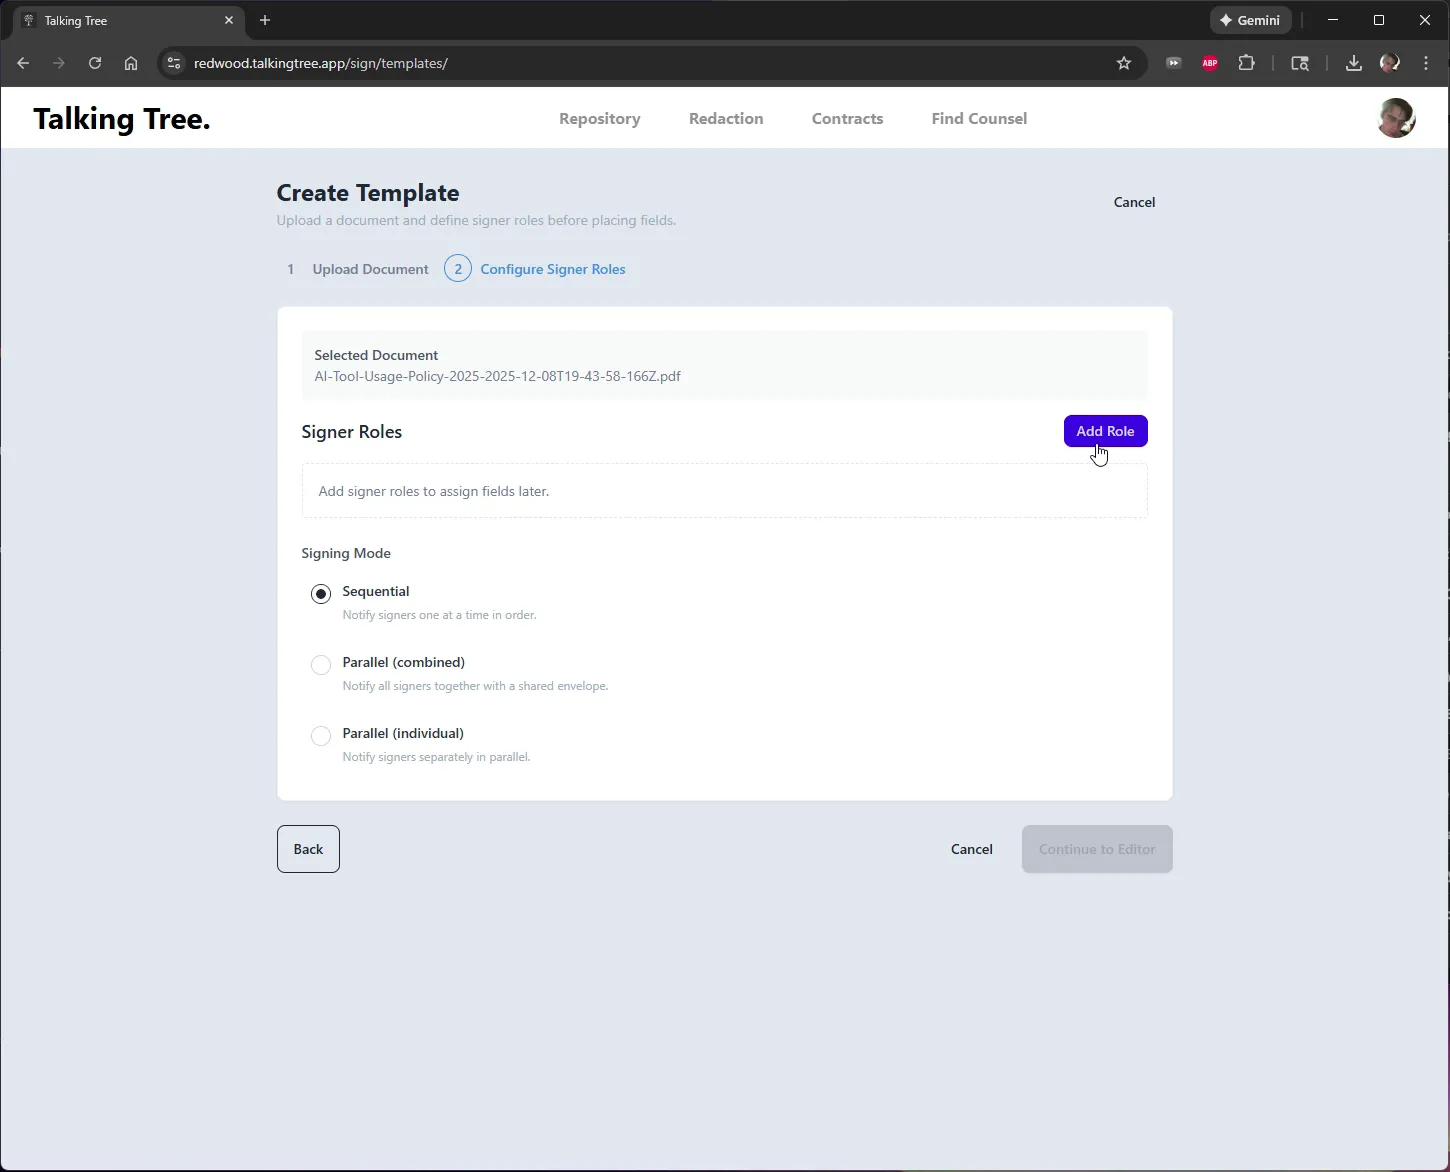
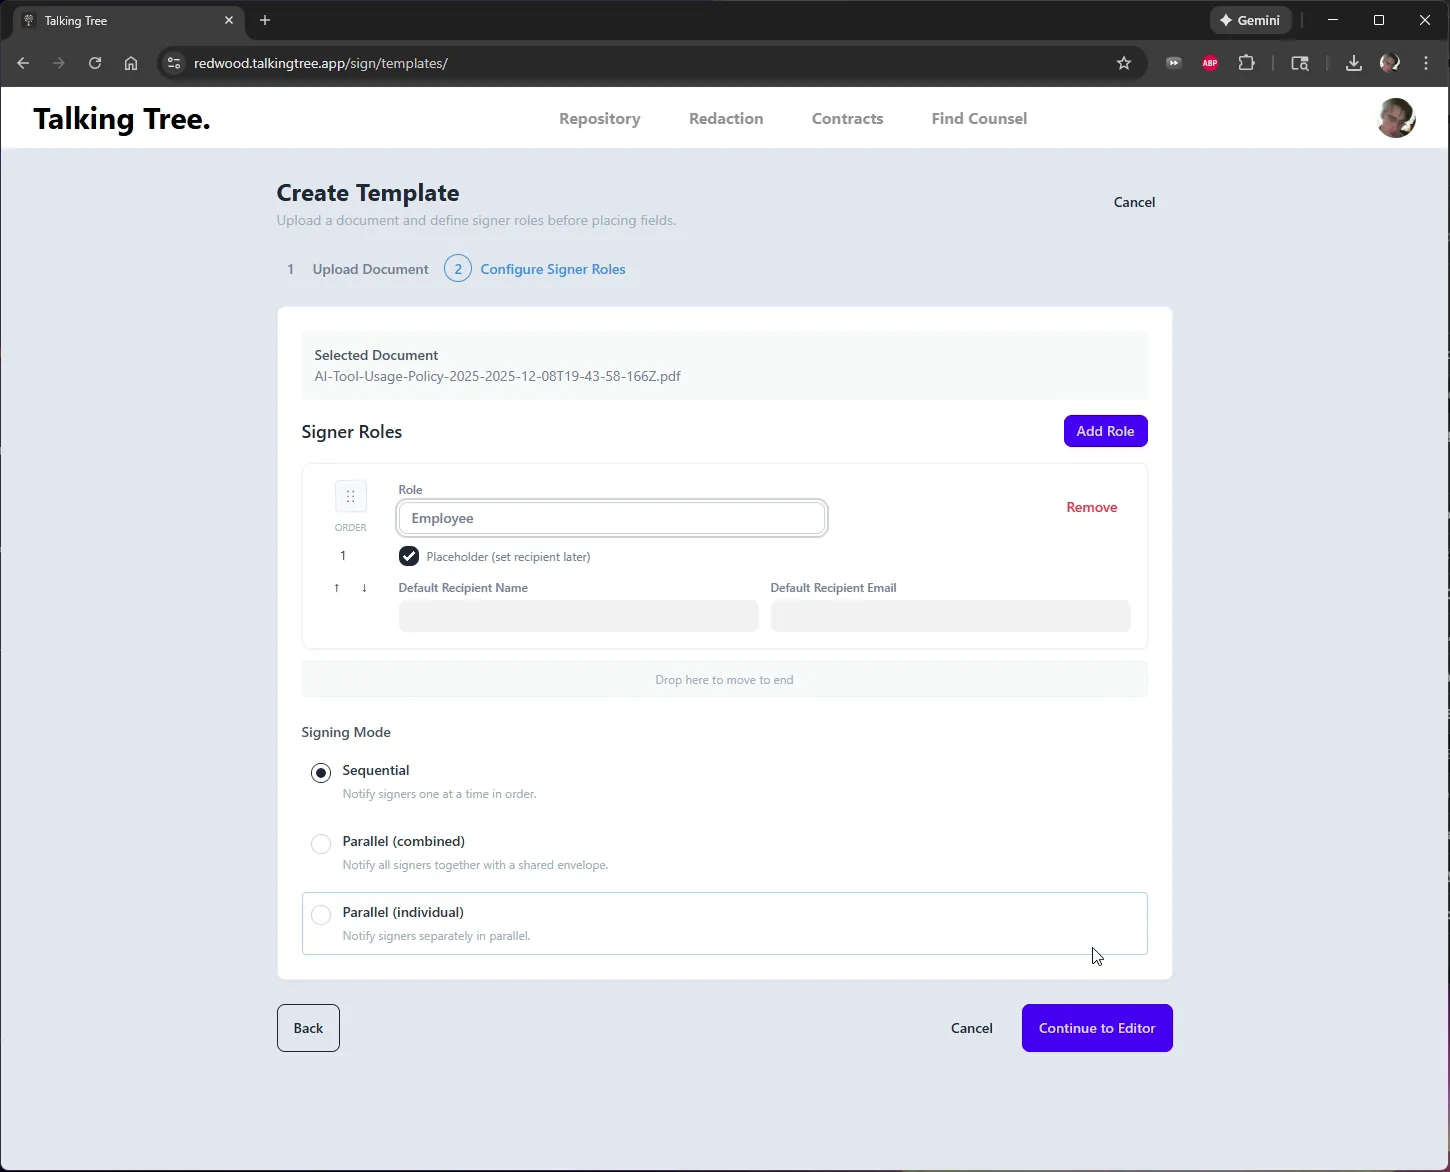
3. Add a Signer Role
On the Configure Signer Roles step, click Add Role and name the role (for example, "Employee"). Roles let you assign fields to specific signers before you know exactly who will sign.
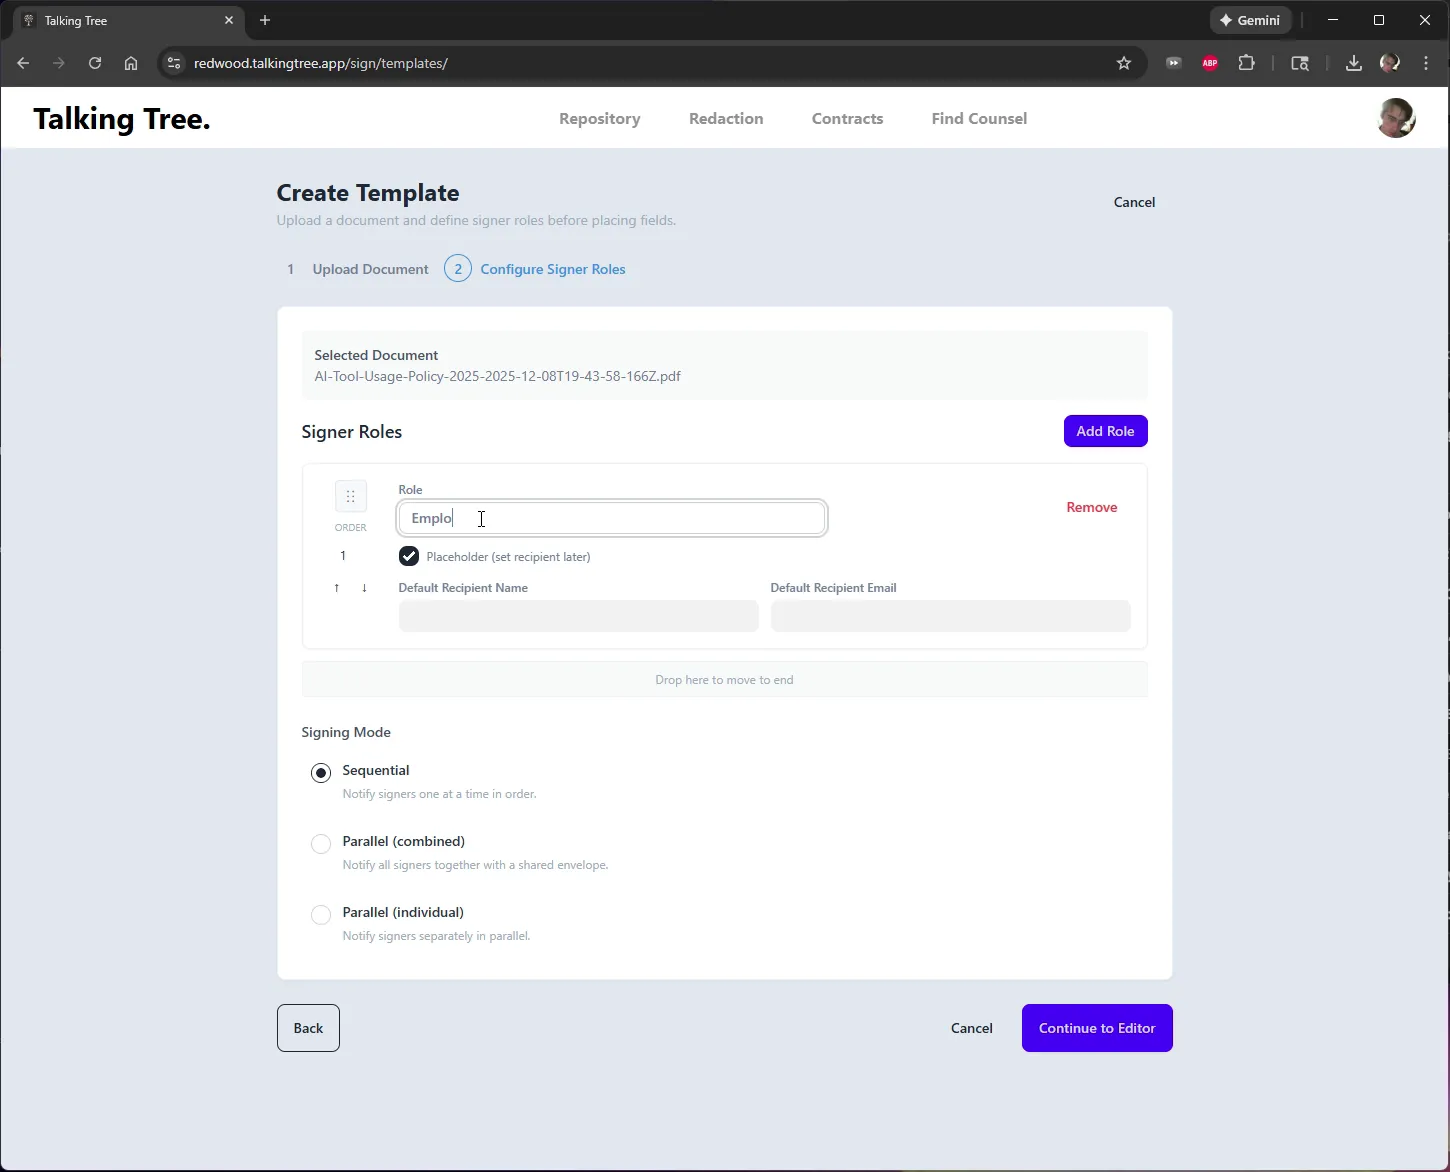
4. Choose a Signing Mode
Select how signers will be notified: Sequential (one at a time, in order), Parallel (combined) (all signers share one envelope), or Parallel (individual) (each signer notified separately). Then click Continue to Editor.
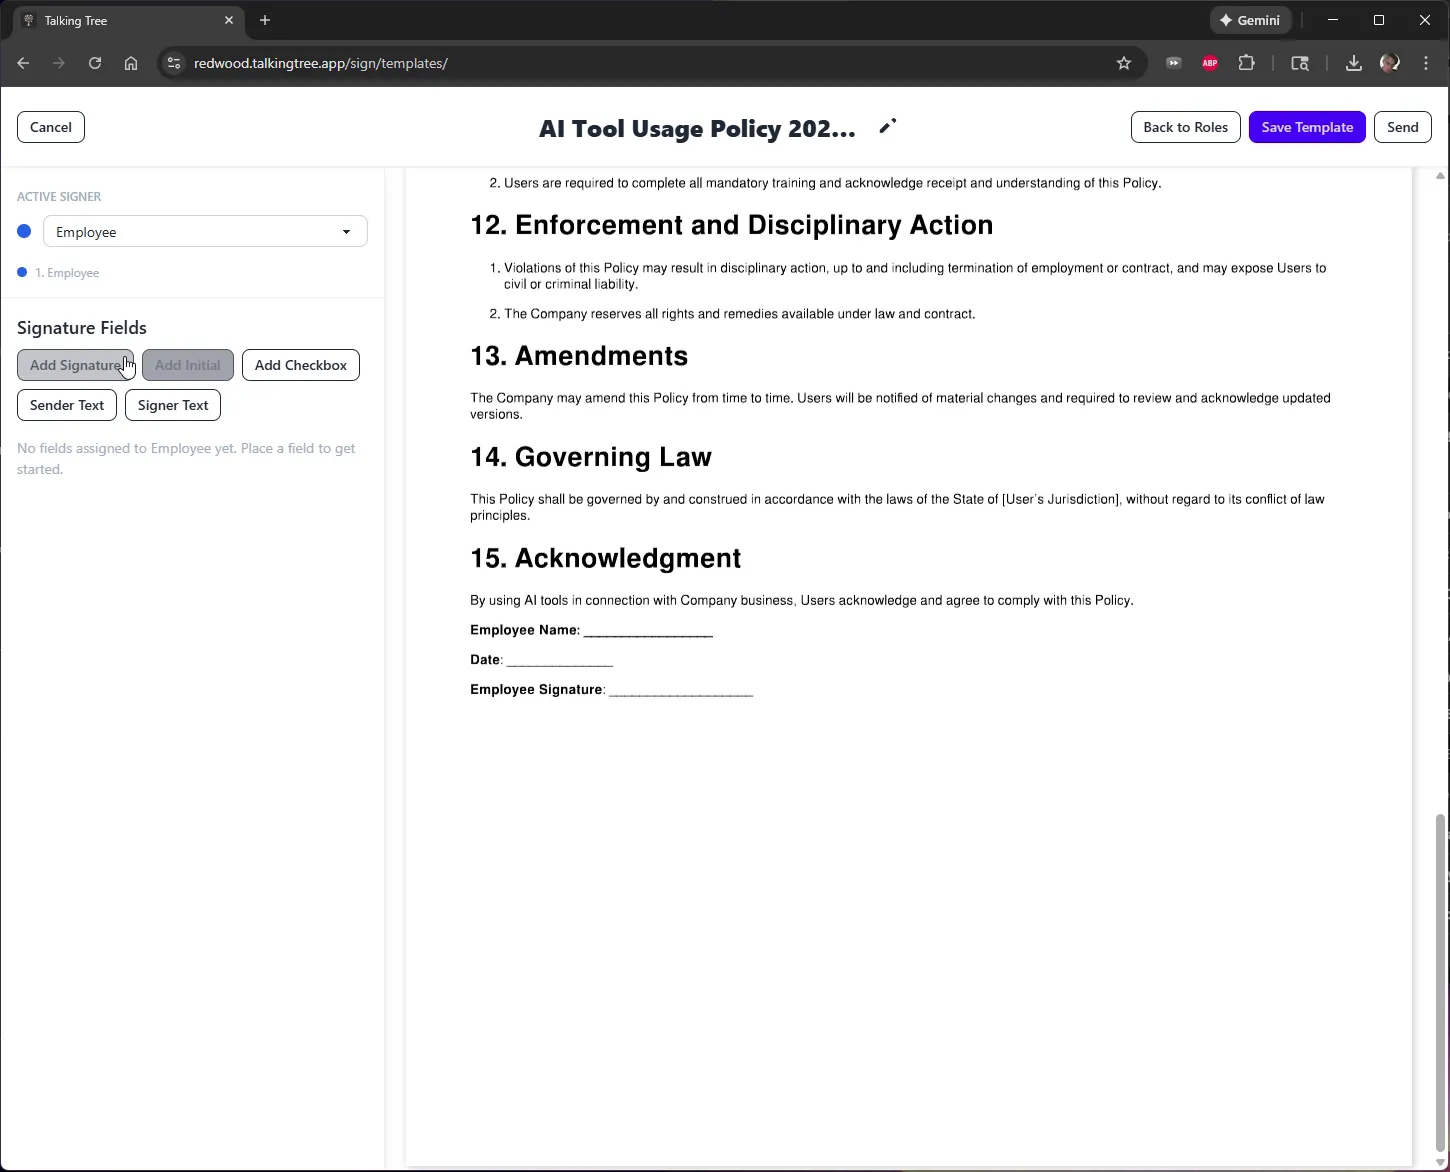
5. Open the Field Editor
The document opens in the field editor with the selected signer role active. Use the Signature Fields panel to add signature, initial, checkbox, or text fields anywhere in the document.
6. Place the Signature Field
Drag a Signature field onto the document at the location where the signer must sign, such as the acknowledgment or signature block. Resize or reposition it as needed.
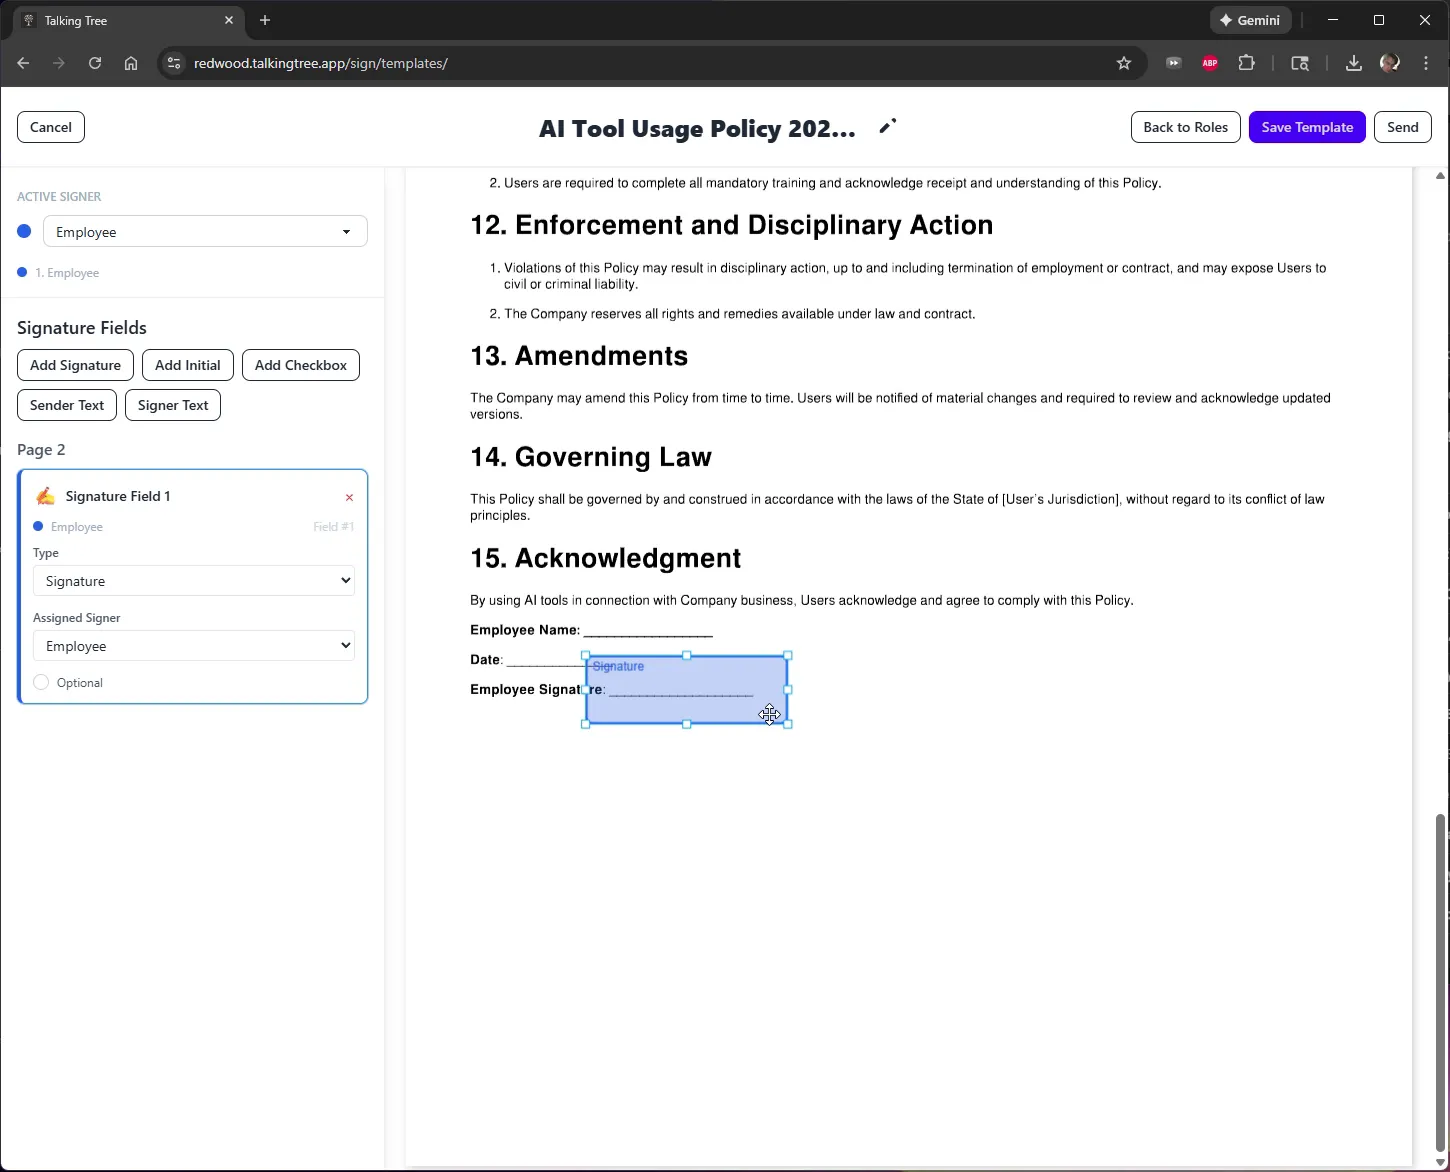
7. Save the Template
Click Save Template to store the document and its configured fields as a reusable signature template. A confirmation banner and the updated templates list confirm the save.
8. Send the Template
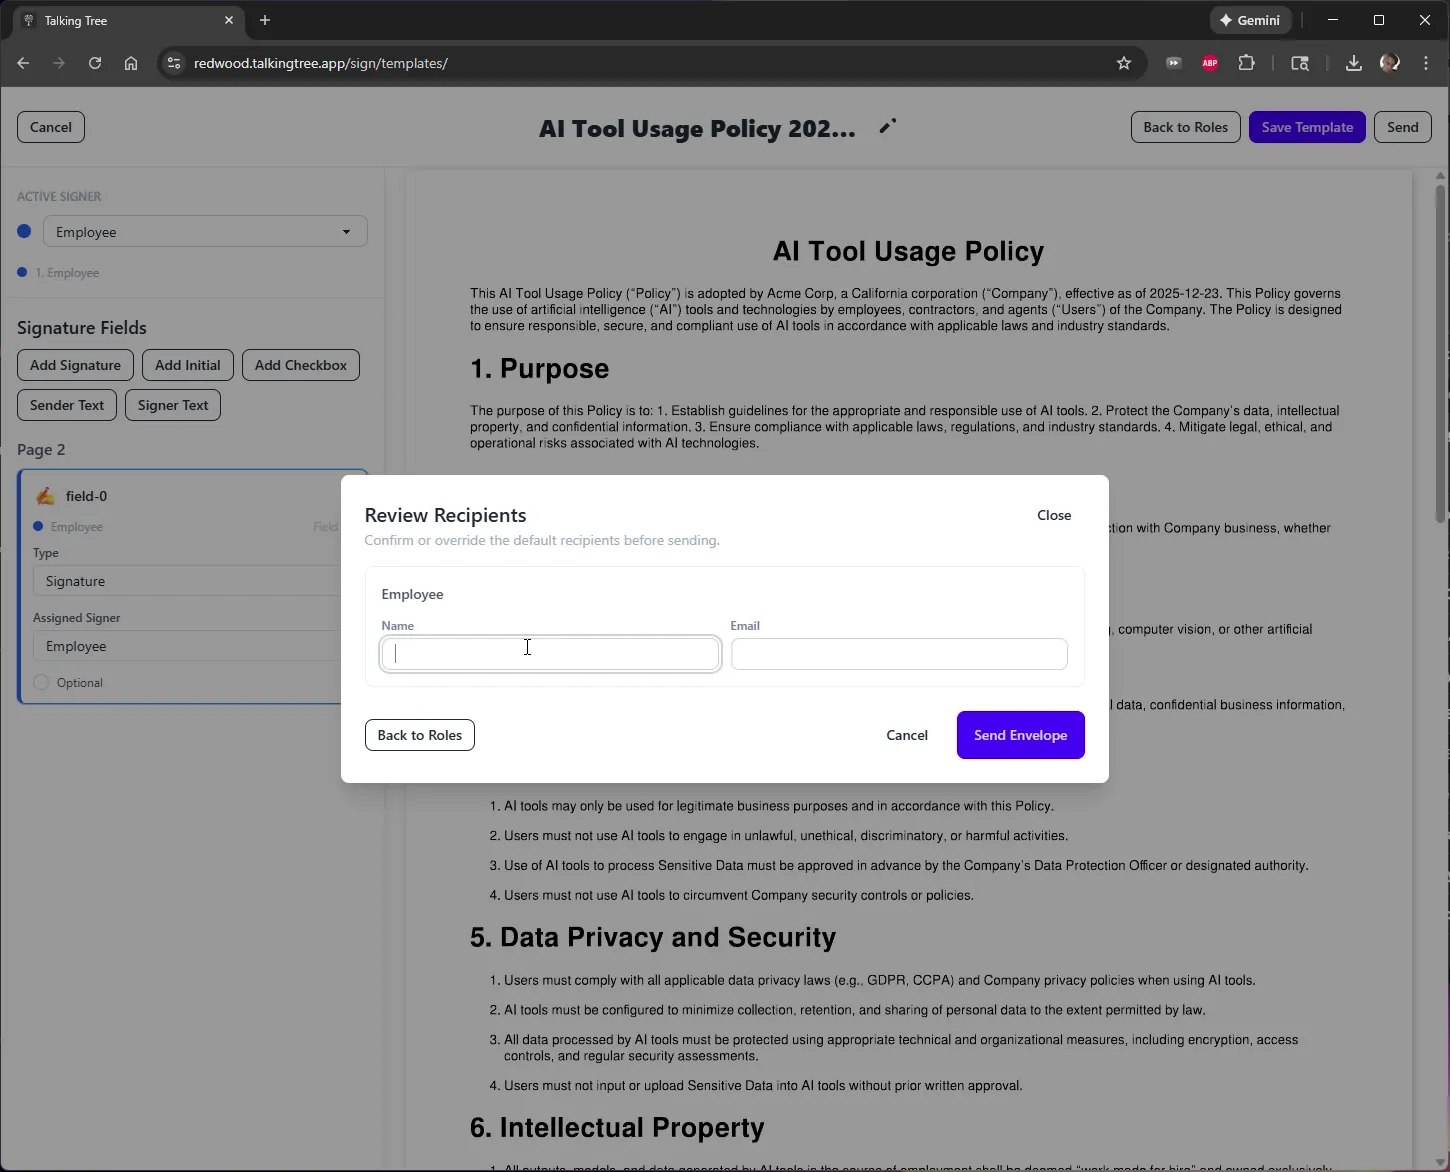
From the templates list, click Send on the template you just created to open the Review Recipients dialog.
9. Enter the Recipient Name
In the Review Recipients dialog, enter the name of the person who will fill the signer role.
10. Enter the Recipient Email and Send
Enter the recipient's email address, then click Send Envelope to dispatch the document for signature.
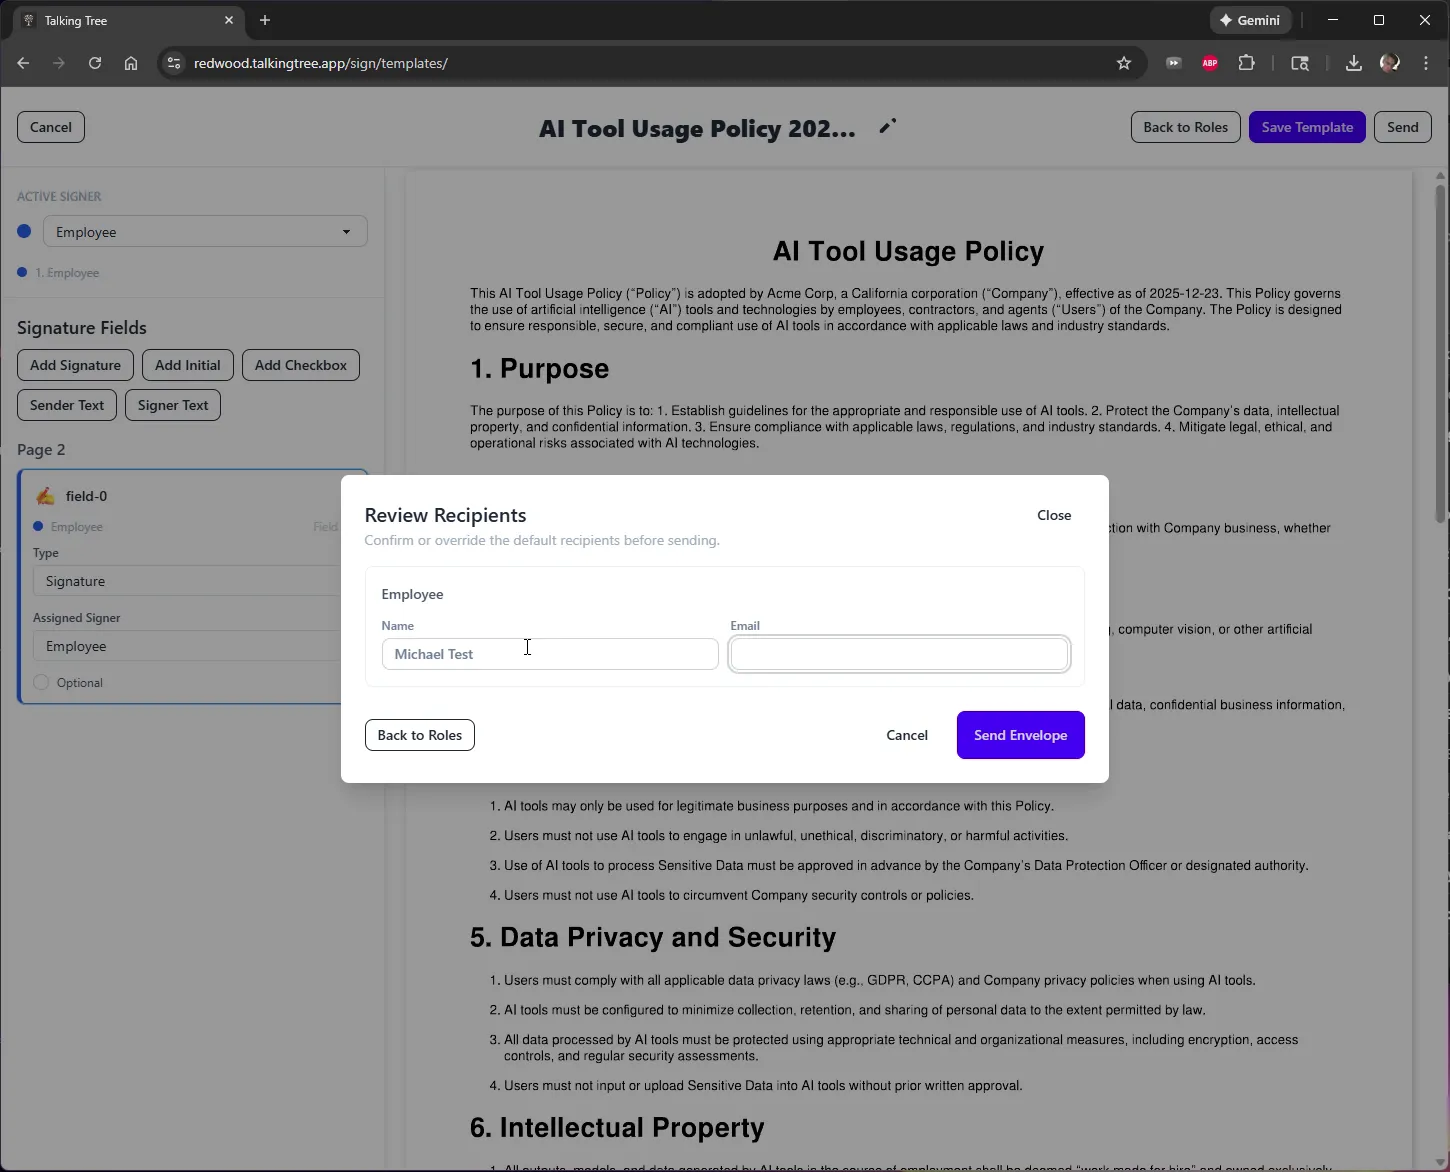
The document is now sent as a signature envelope to the named recipient, ready for them to review and sign.
You’re ready to put this workflow into practice.