
Creating a Custom Contract Template in Talking Tree
This tutorial walks through uploading your own Word document as a custom contract template, then generating a filled-in contract from it.
1. Start a new template
From the Contracts tab, click Upload Template in the left sidebar.
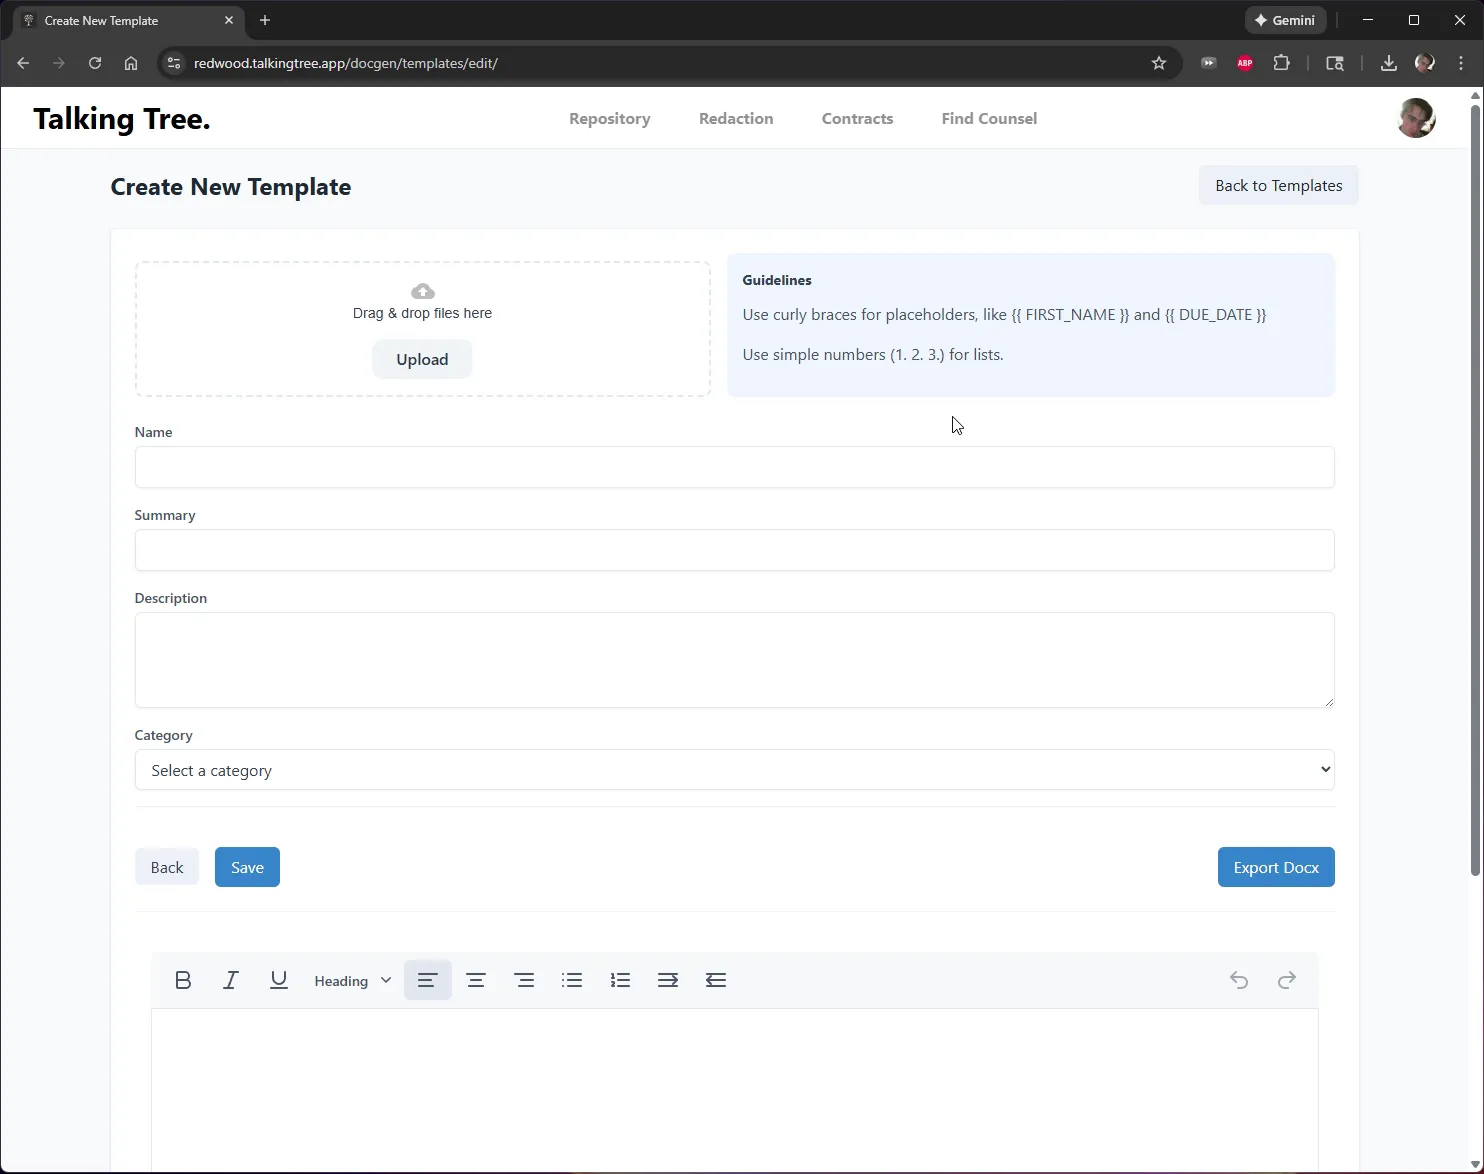
2. Upload your Word document
Drag your .docx file into the upload area (or click Upload to browse for it).
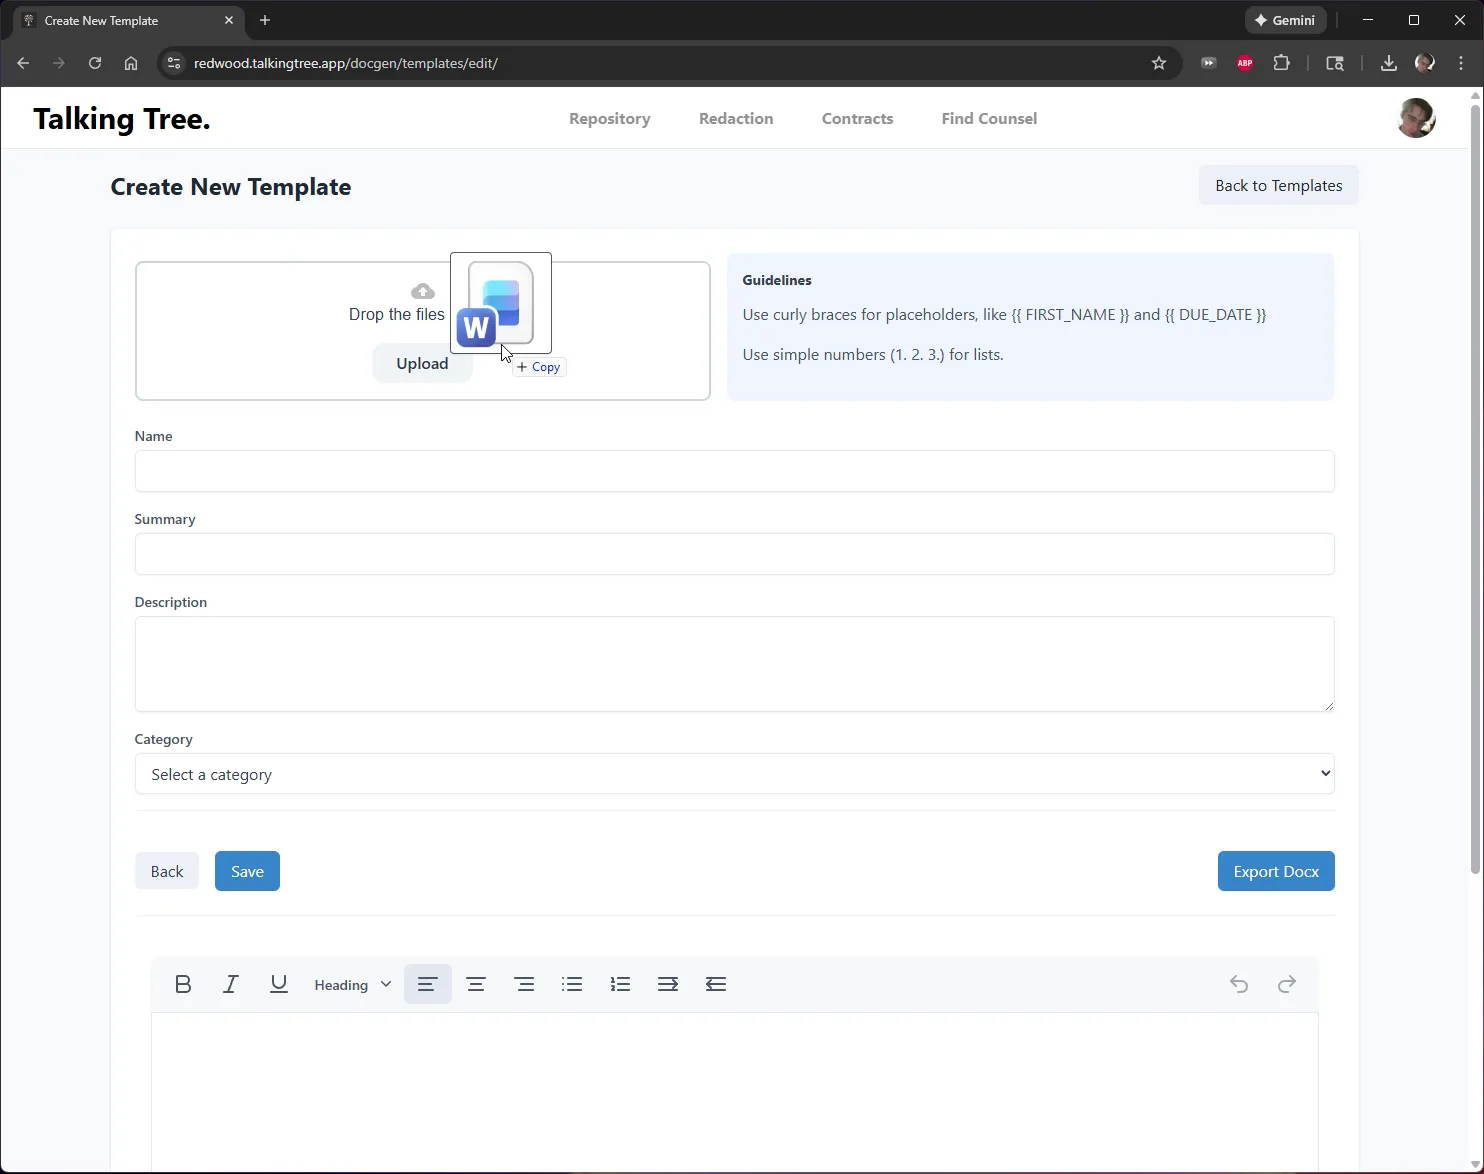
3. Name the template
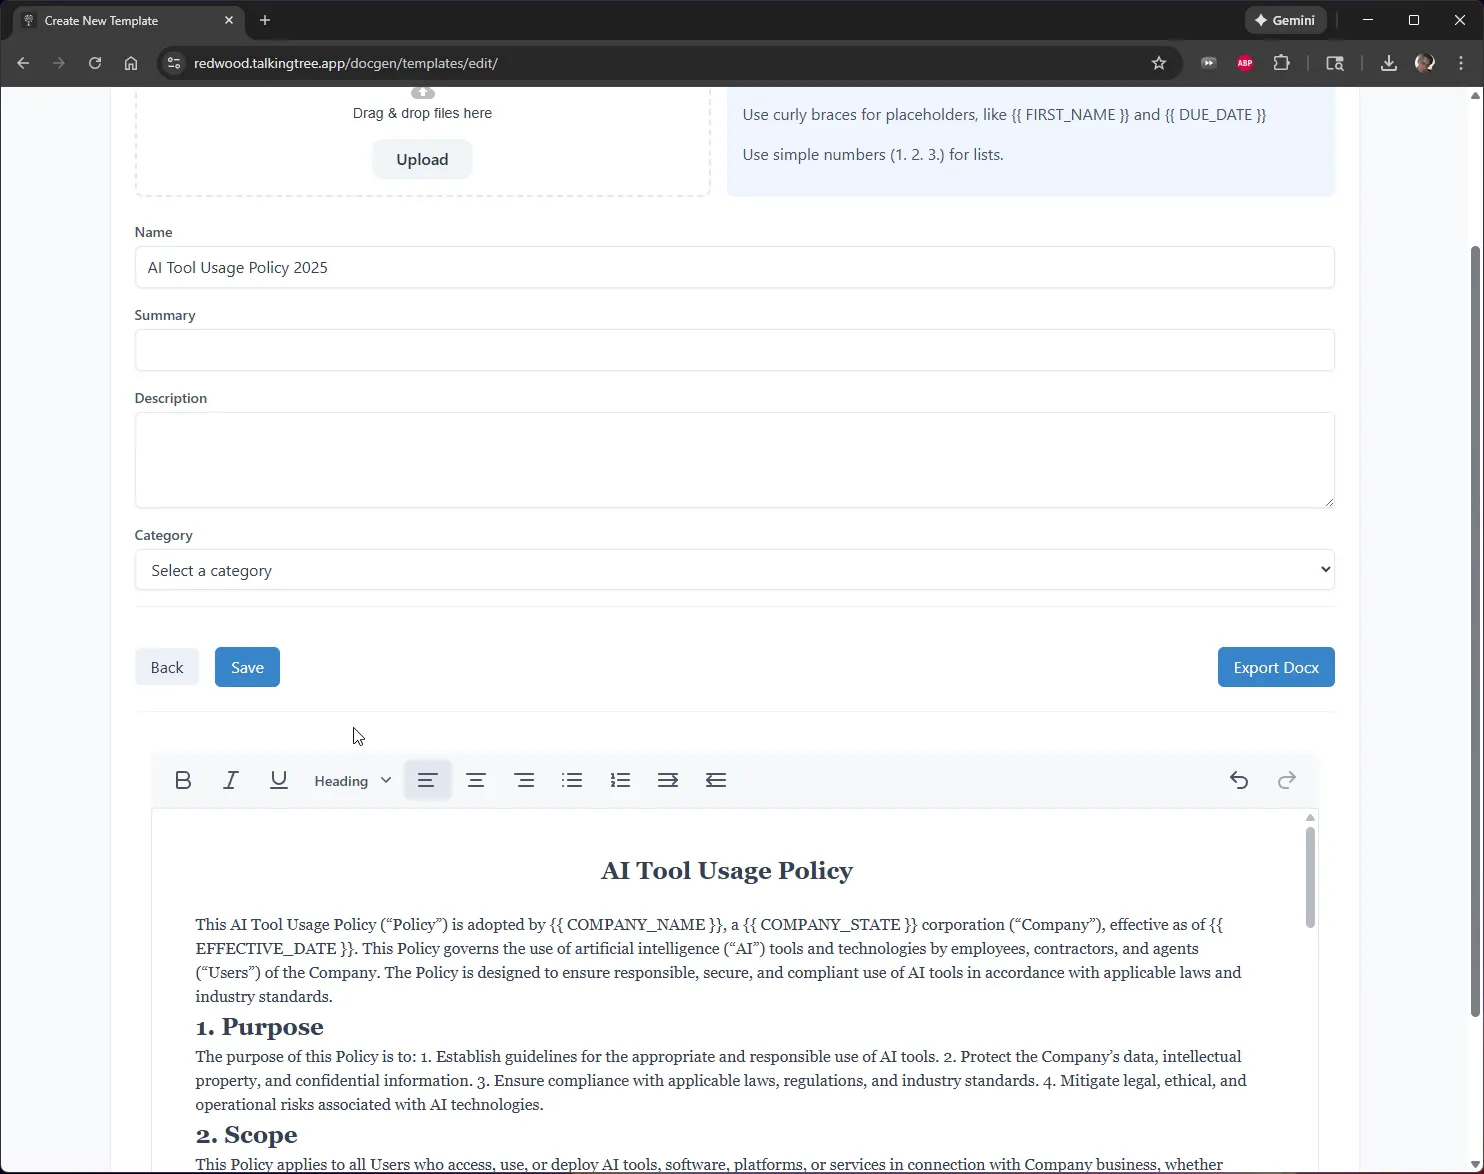
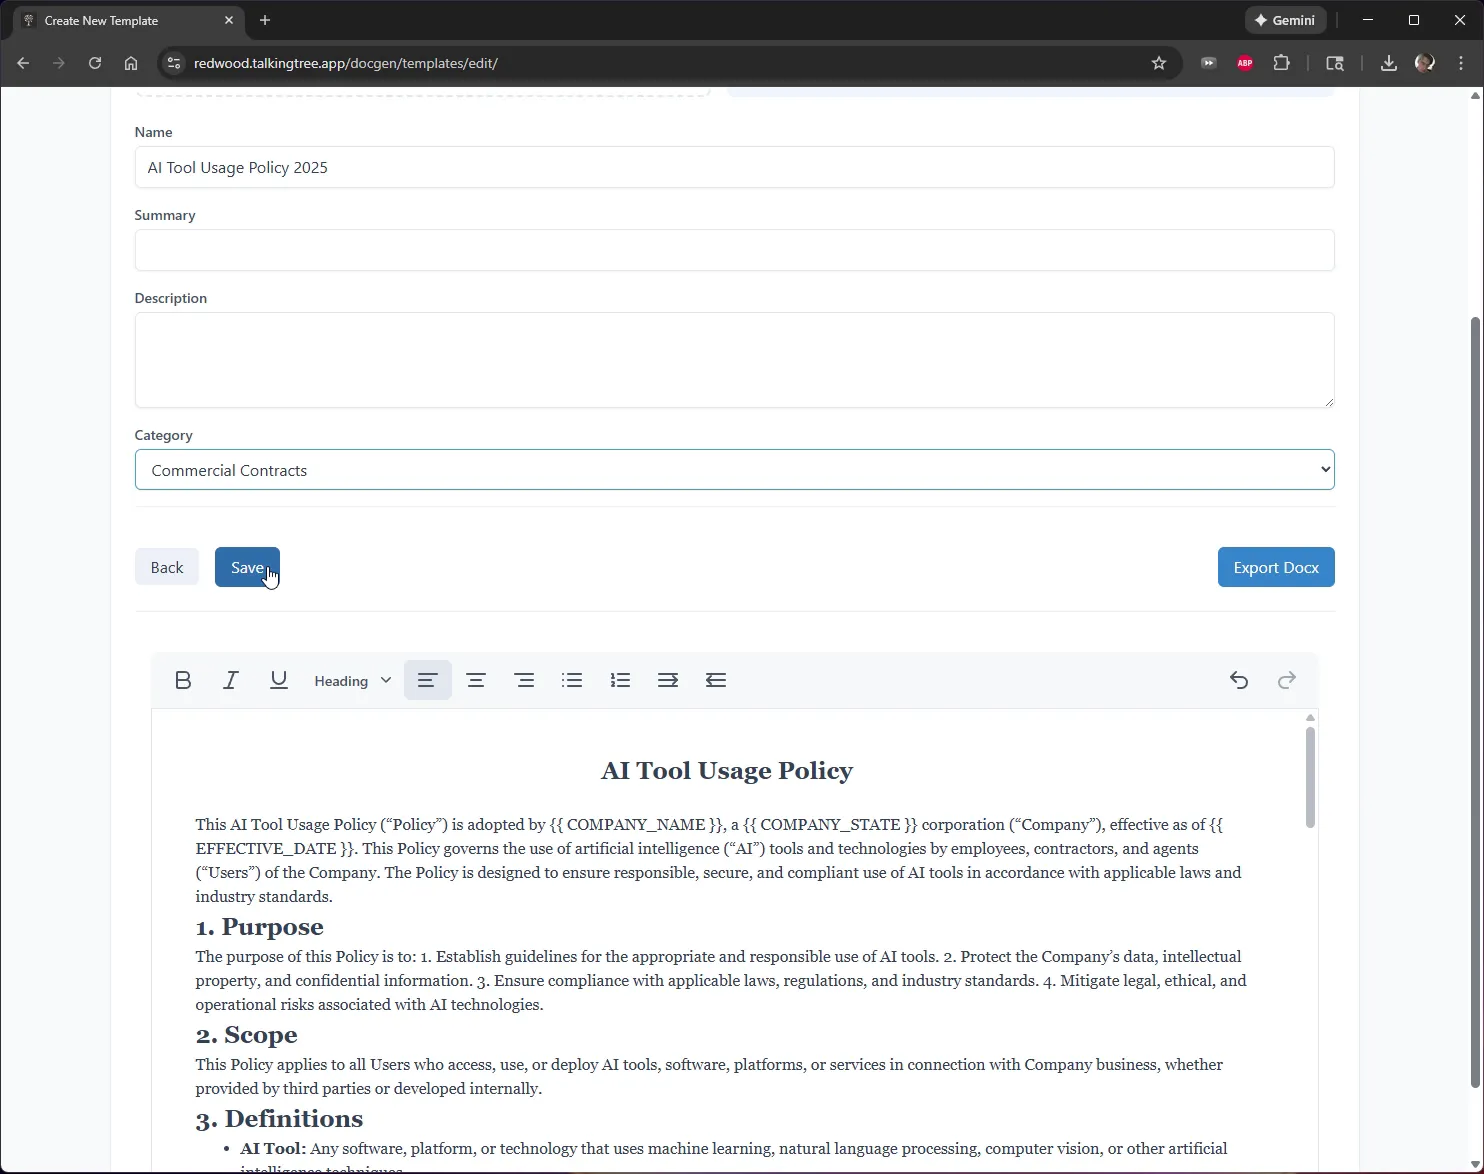
Once the file is uploaded, its content appears in the editor below. Give the template a clear Name — here it's set to "AI Tool Usage Policy 2025".
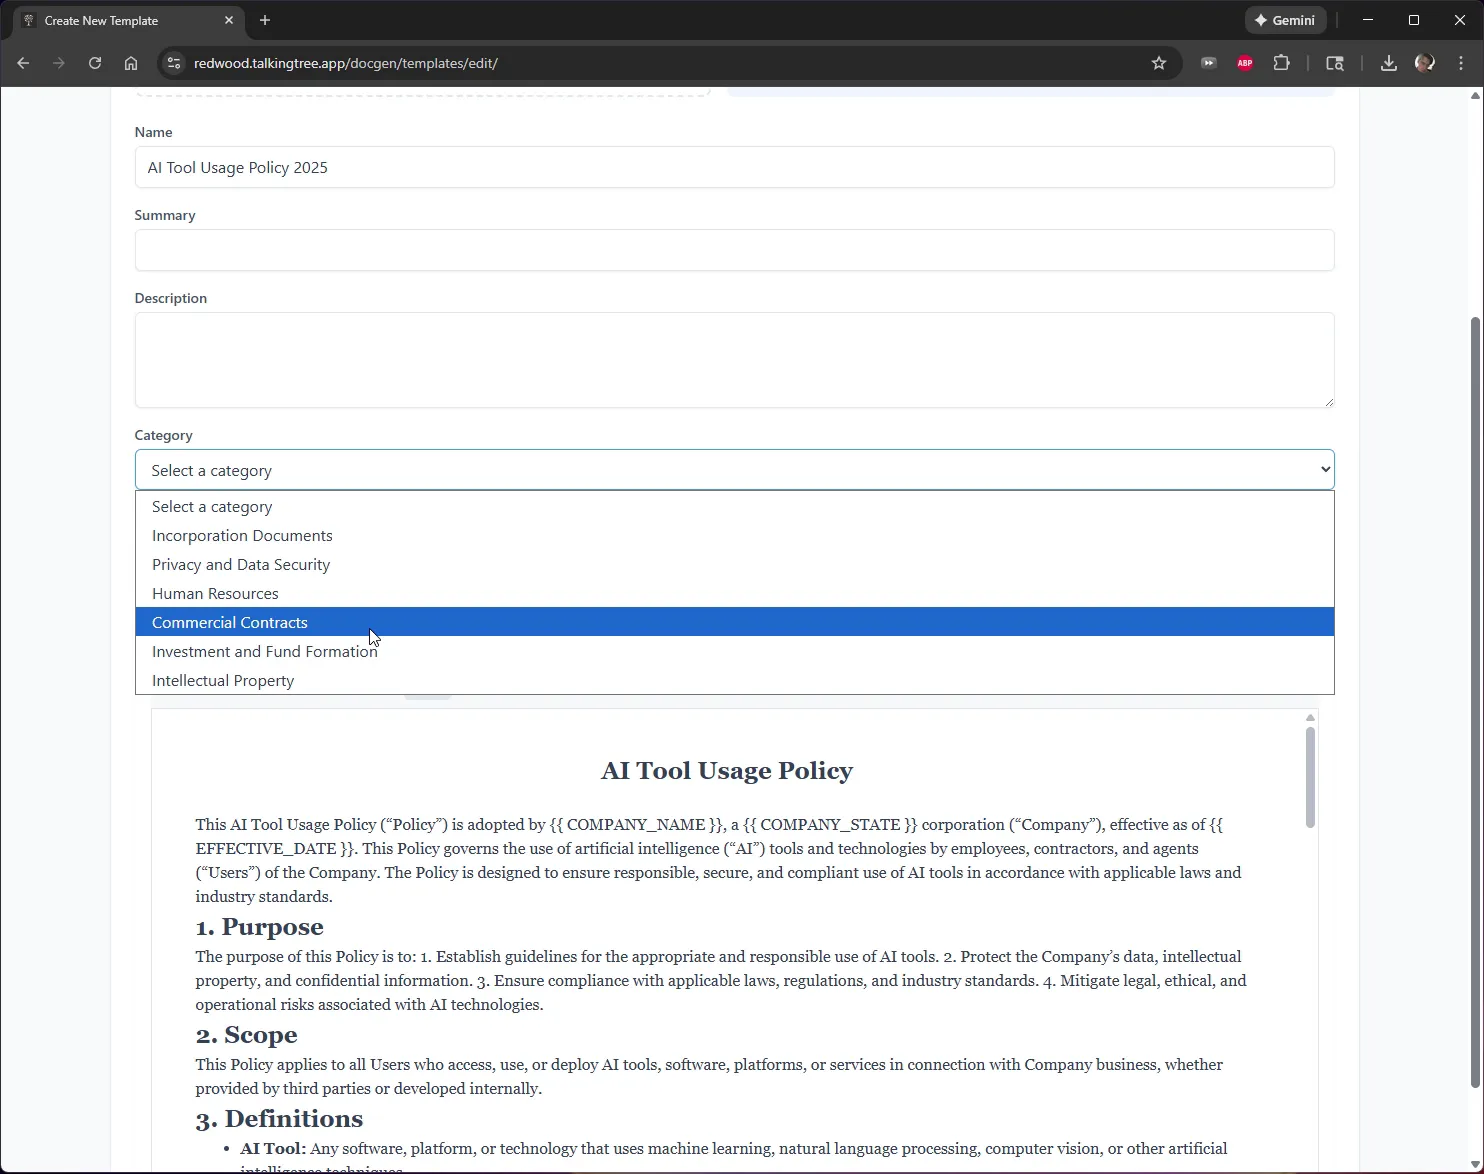
4. Choose a category
Open the Category dropdown and select the folder this template should live in (e.g. "Commercial Contracts") so it's easy to find later.
5. Save the template
Click Save.
6. Confirm it's saved
Back on the Contracts tab, the new template now appears under Custom Templates in the sidebar and is selected automatically, showing a preview with placeholder fields (like company name and state) still blank.
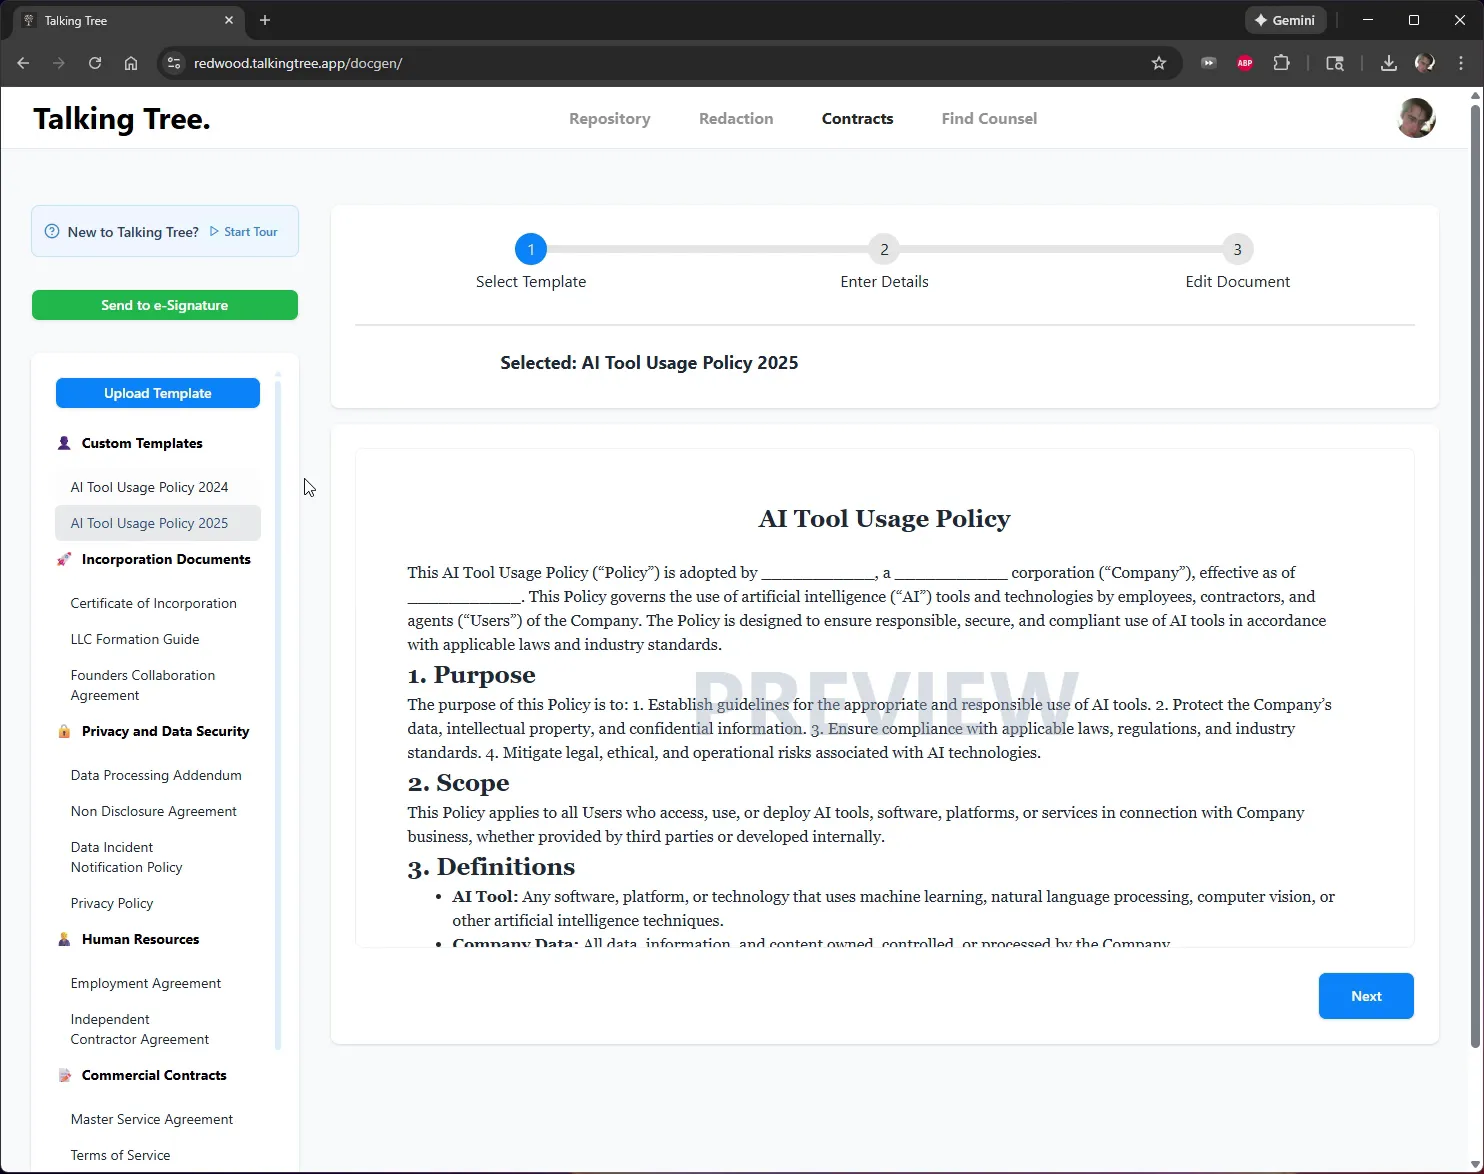
Click Next to move to step 2, Enter Details.
7. Fill in the contract details
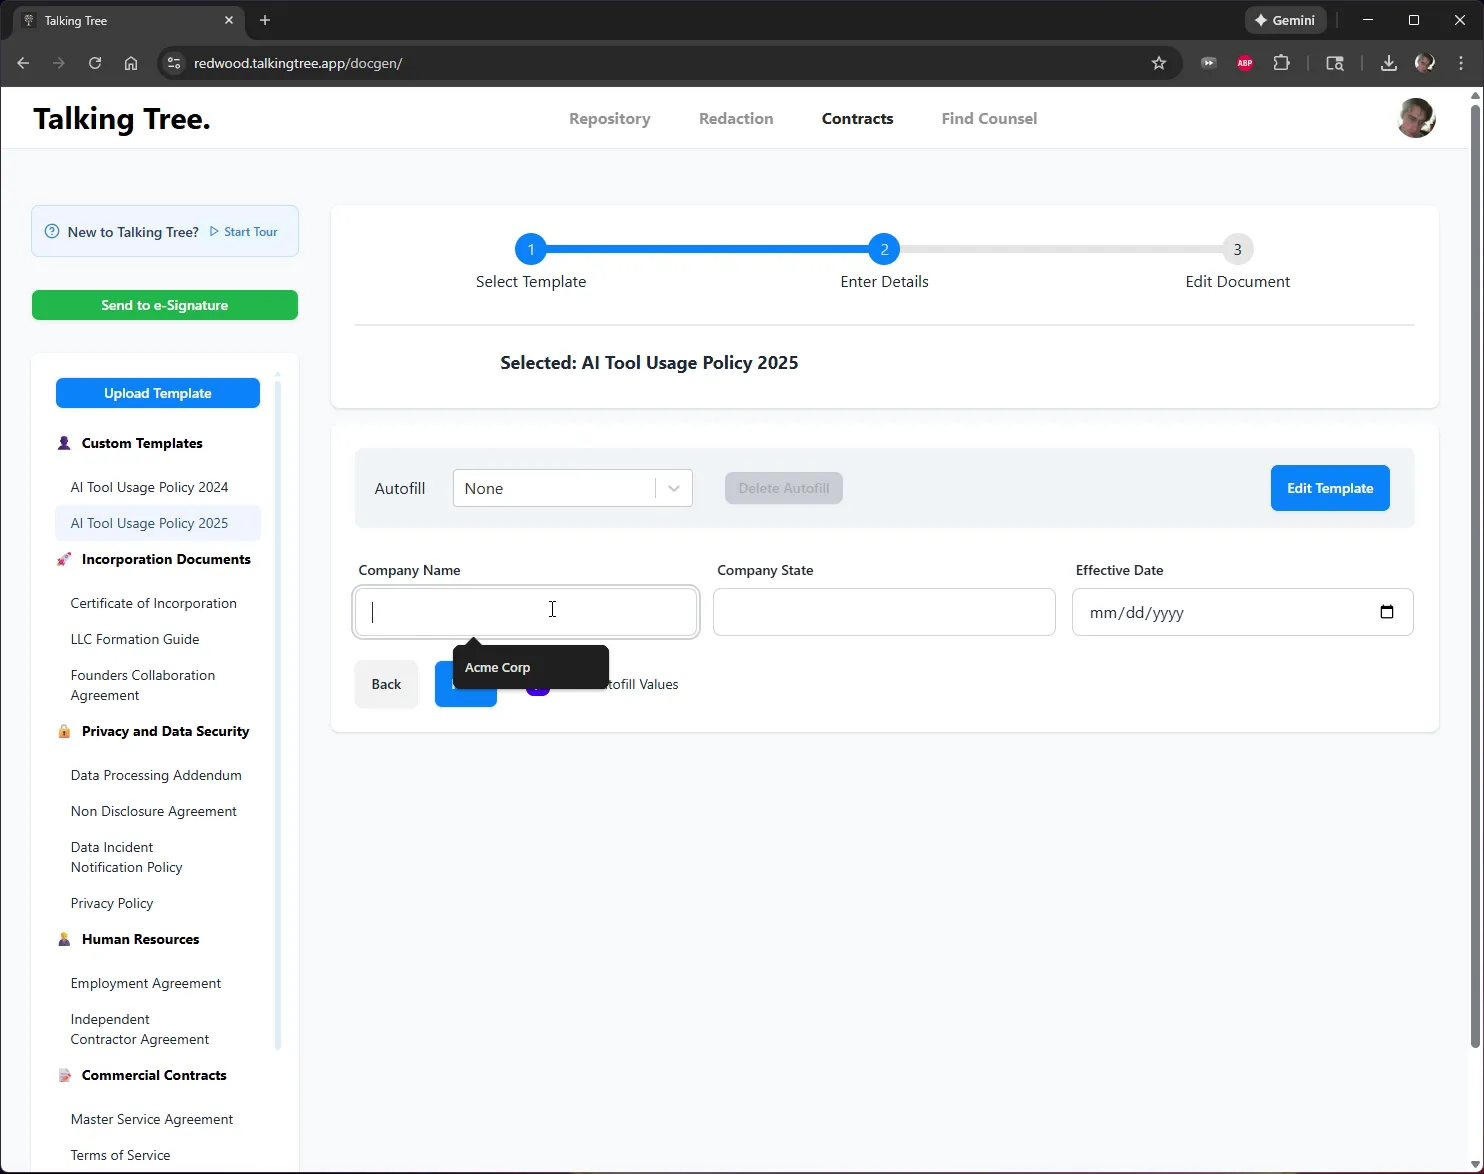
Enter the values for each placeholder field. As you type, Talking Tree suggests previously used values (like "Acme Corp") to autofill.
8. Complete all fields
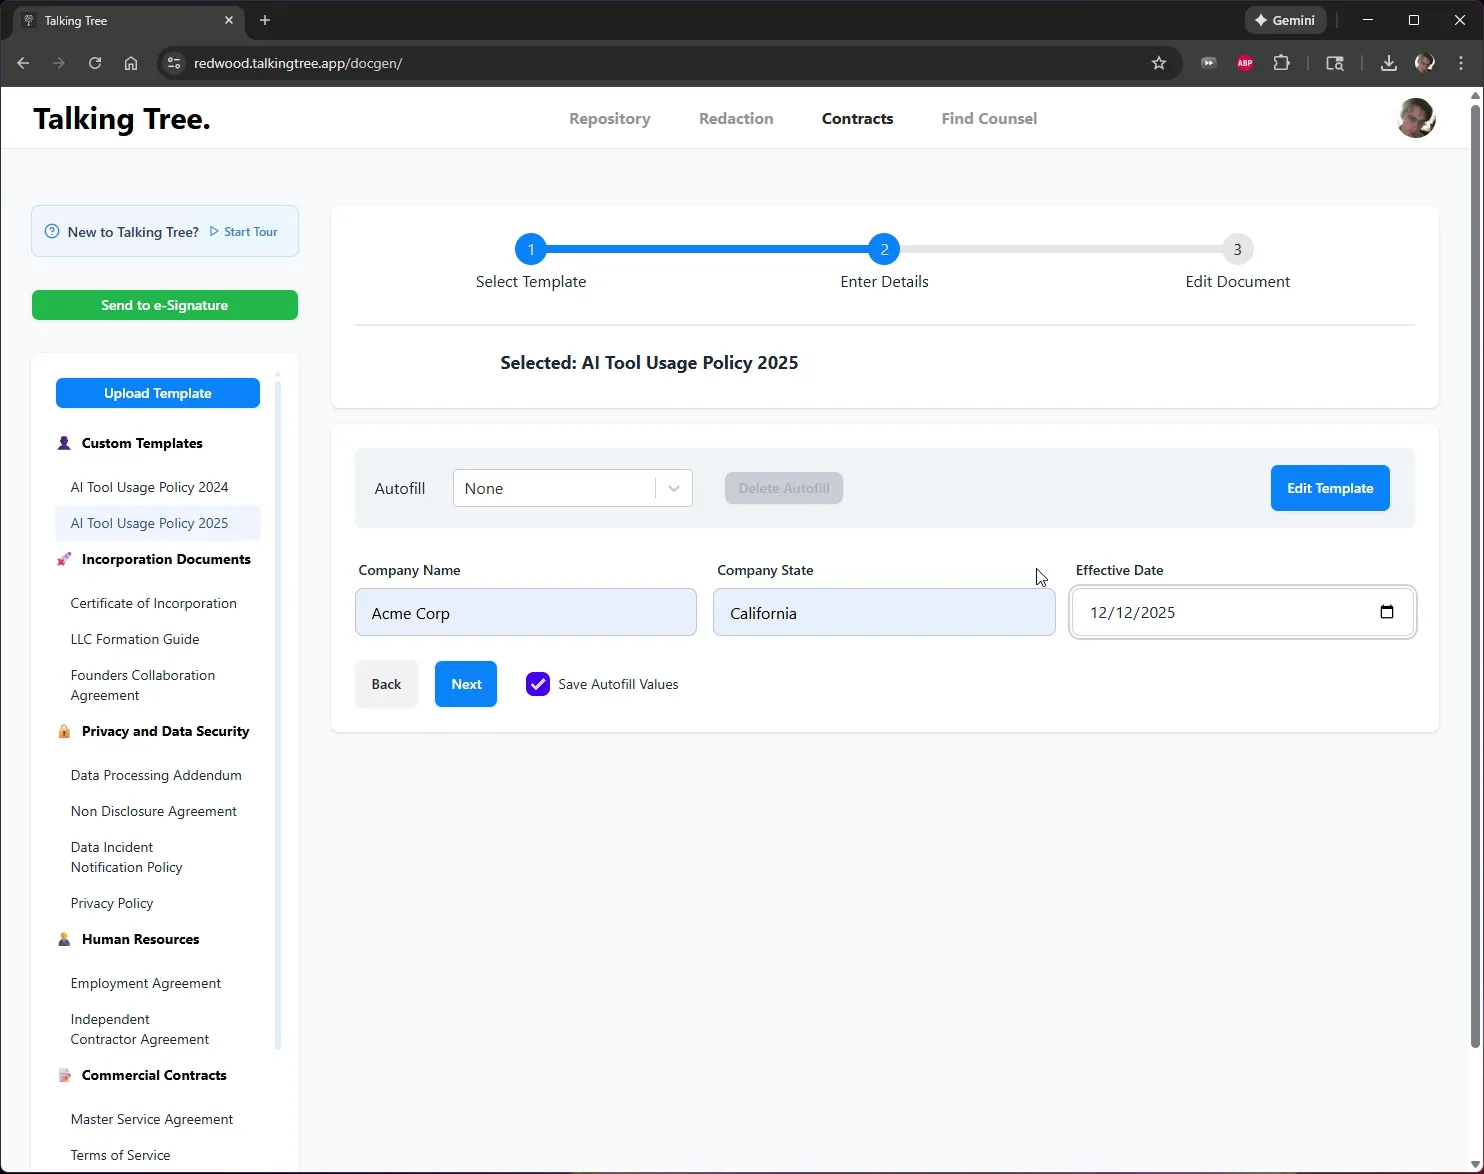
Fill in every field — Company Name, Company State, and Effective Date — then click Next.
9. Review the merged document
On step 3, Edit Document, review the contract with your details merged into the text. Make any final edits directly in this editor.
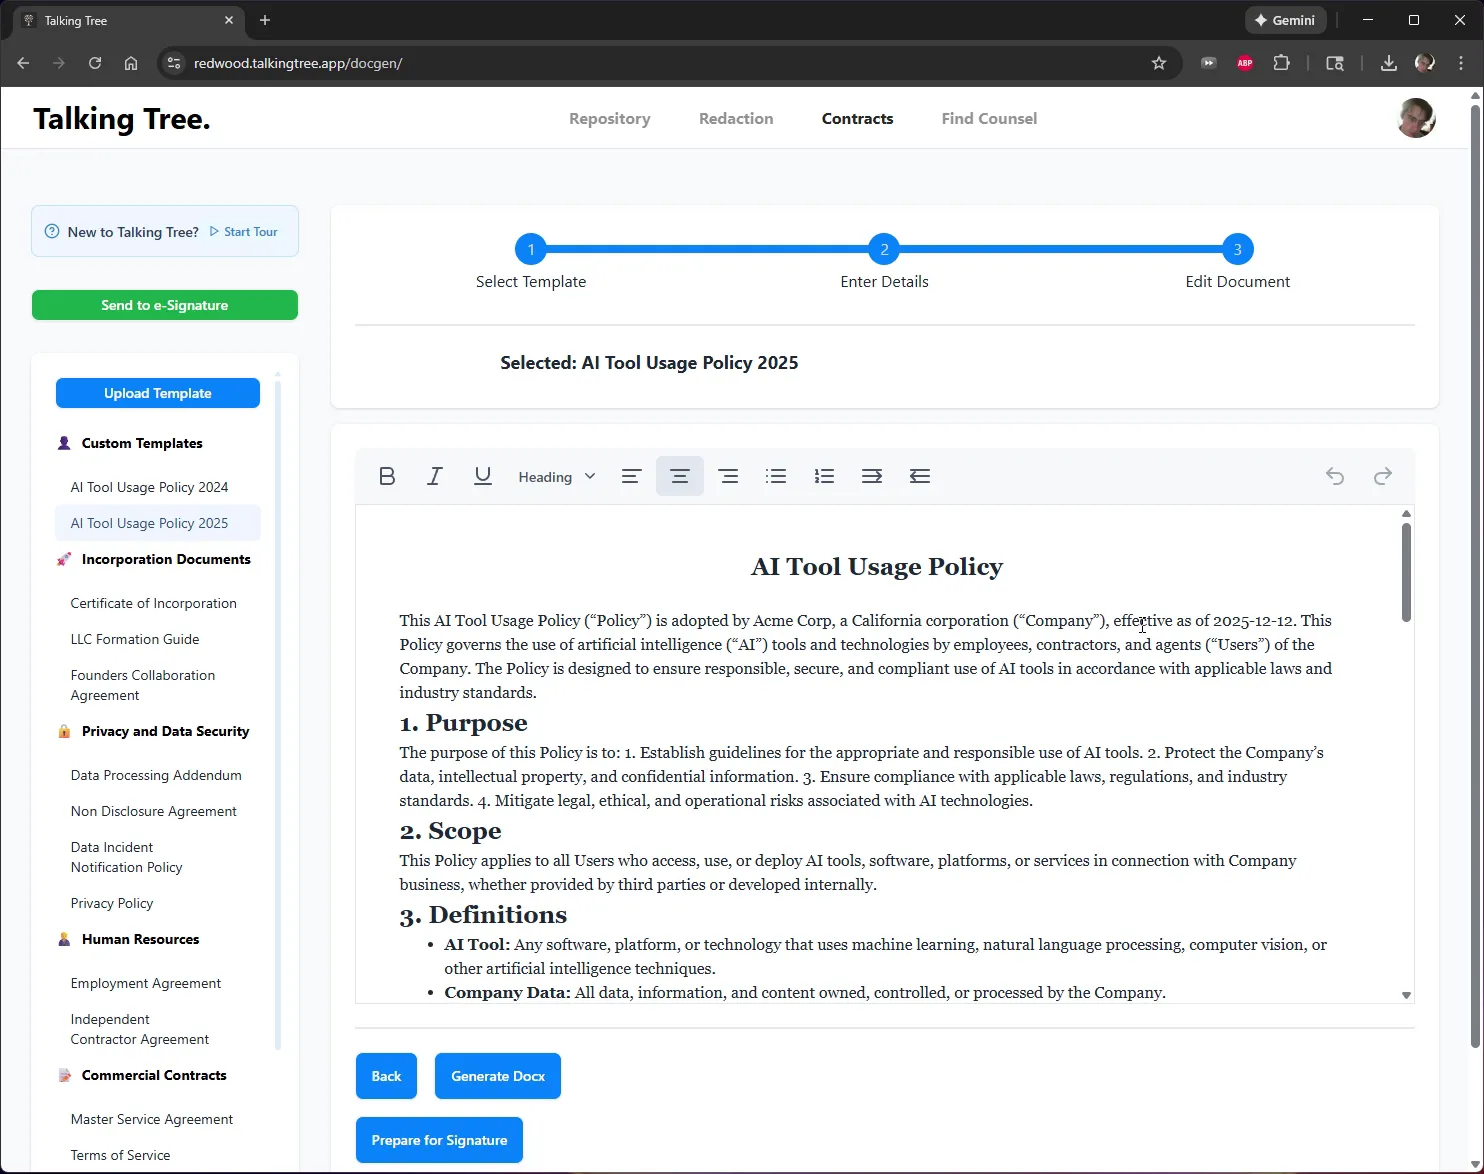
10. Generate the Word document
Click Generate Docx to download the finished contract as a .docx file.
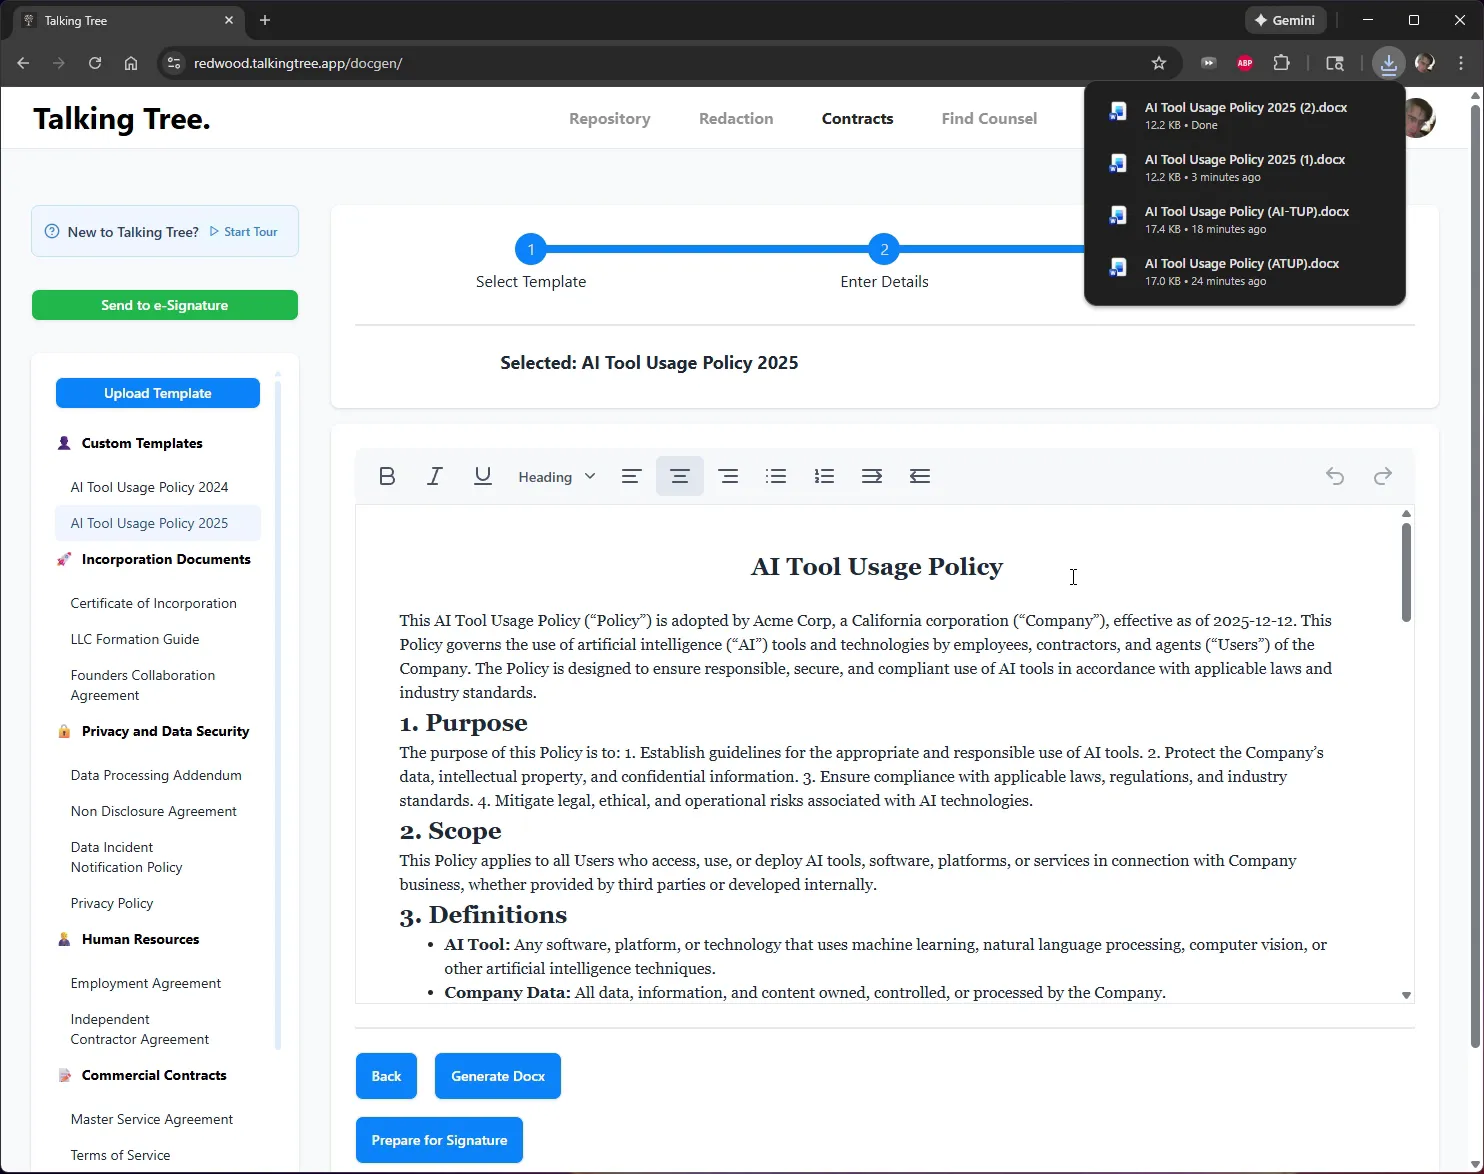
That's it — your custom template is saved for reuse, and the filled-in document is downloaded to your computer.
You’re ready to put this workflow into practice.